Installation
Note: As of July 22, 2022, the branding for the campus VPN client has changed from Pulse Secure (9.1rx) to Ivanti Secure Access (22.2Rx). All other aspects of the client are the same. Any reference to Pulse Secure should be interpreted as Ivanti Secure Access.
Search for and install the Ivanti Secure Access VPN client application from the Google Play Store. Please note that Android 10 or later is required.
Manual Configuration
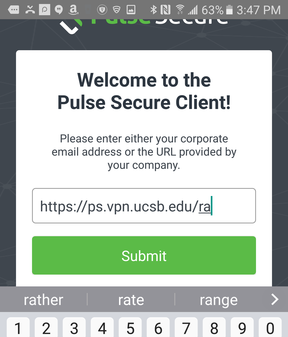
Step 1: Open the Pulse Secure app, enter https://ps.vpn.ucsb.edu/ra in the URL field, and press "Submit."
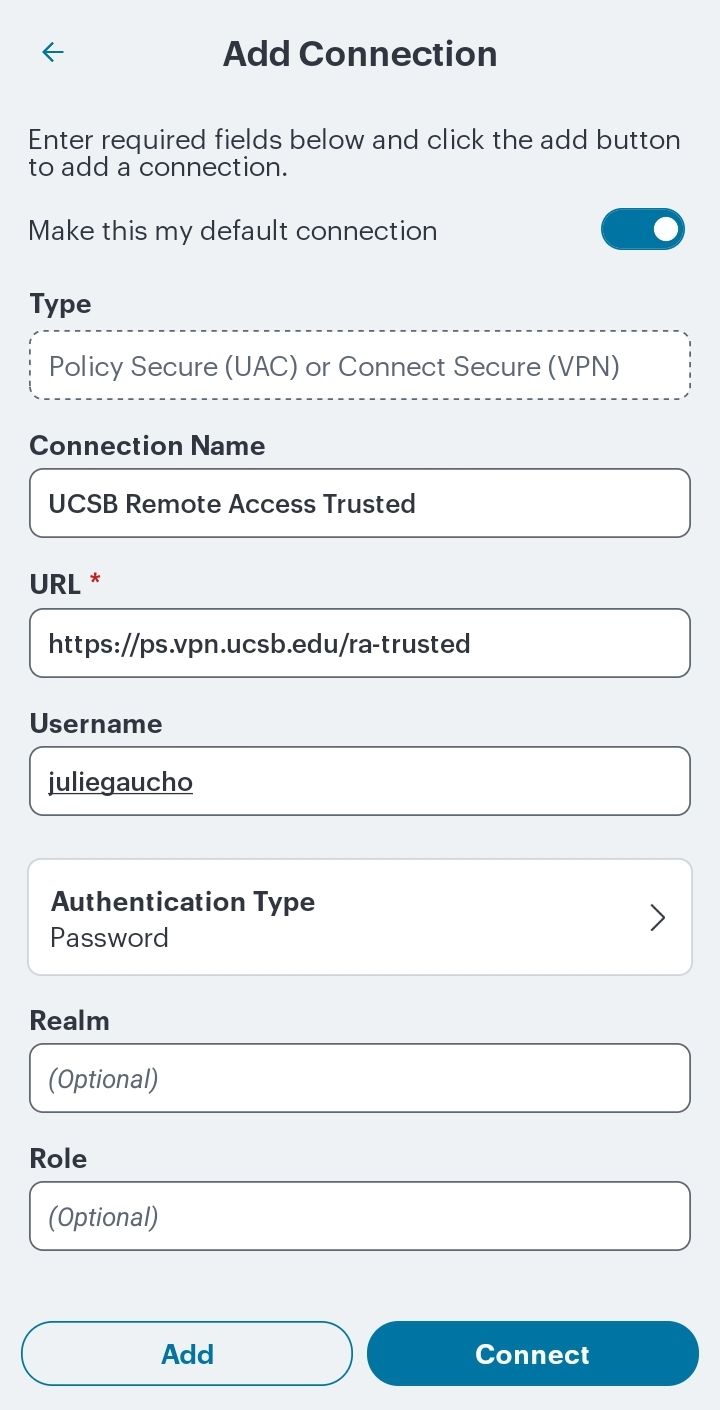
Step 2: When prompted to add a connection, create a connection with the following parameters:
Connection Name: UCSB Remote Access Trusted
URL: https://ps.vpn.ucsb.edu/ra
Username: <your UCSBNetID>
Ensure that you have typed the URL exactly as listed above - http: will not work - it must be https:
Click "Connect".
Usage
IMPORTANT: you must first have at least one device already enrolled with UCSB's MFA service (Duo Security) in order to connect to VPN.
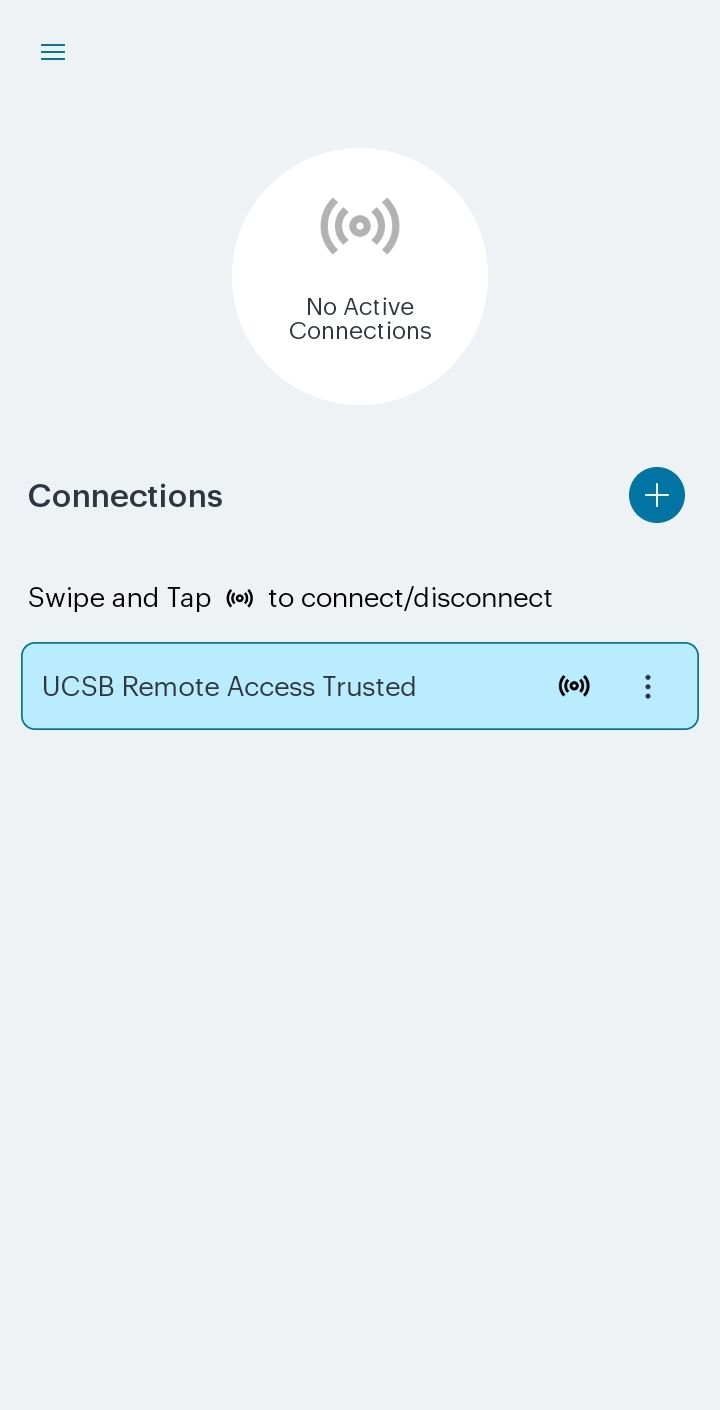
Step 1: Open the Ivanti Secure Access VPN client. Tap on your "UCSB Remote Access Trusted" connection profile, select Connect.
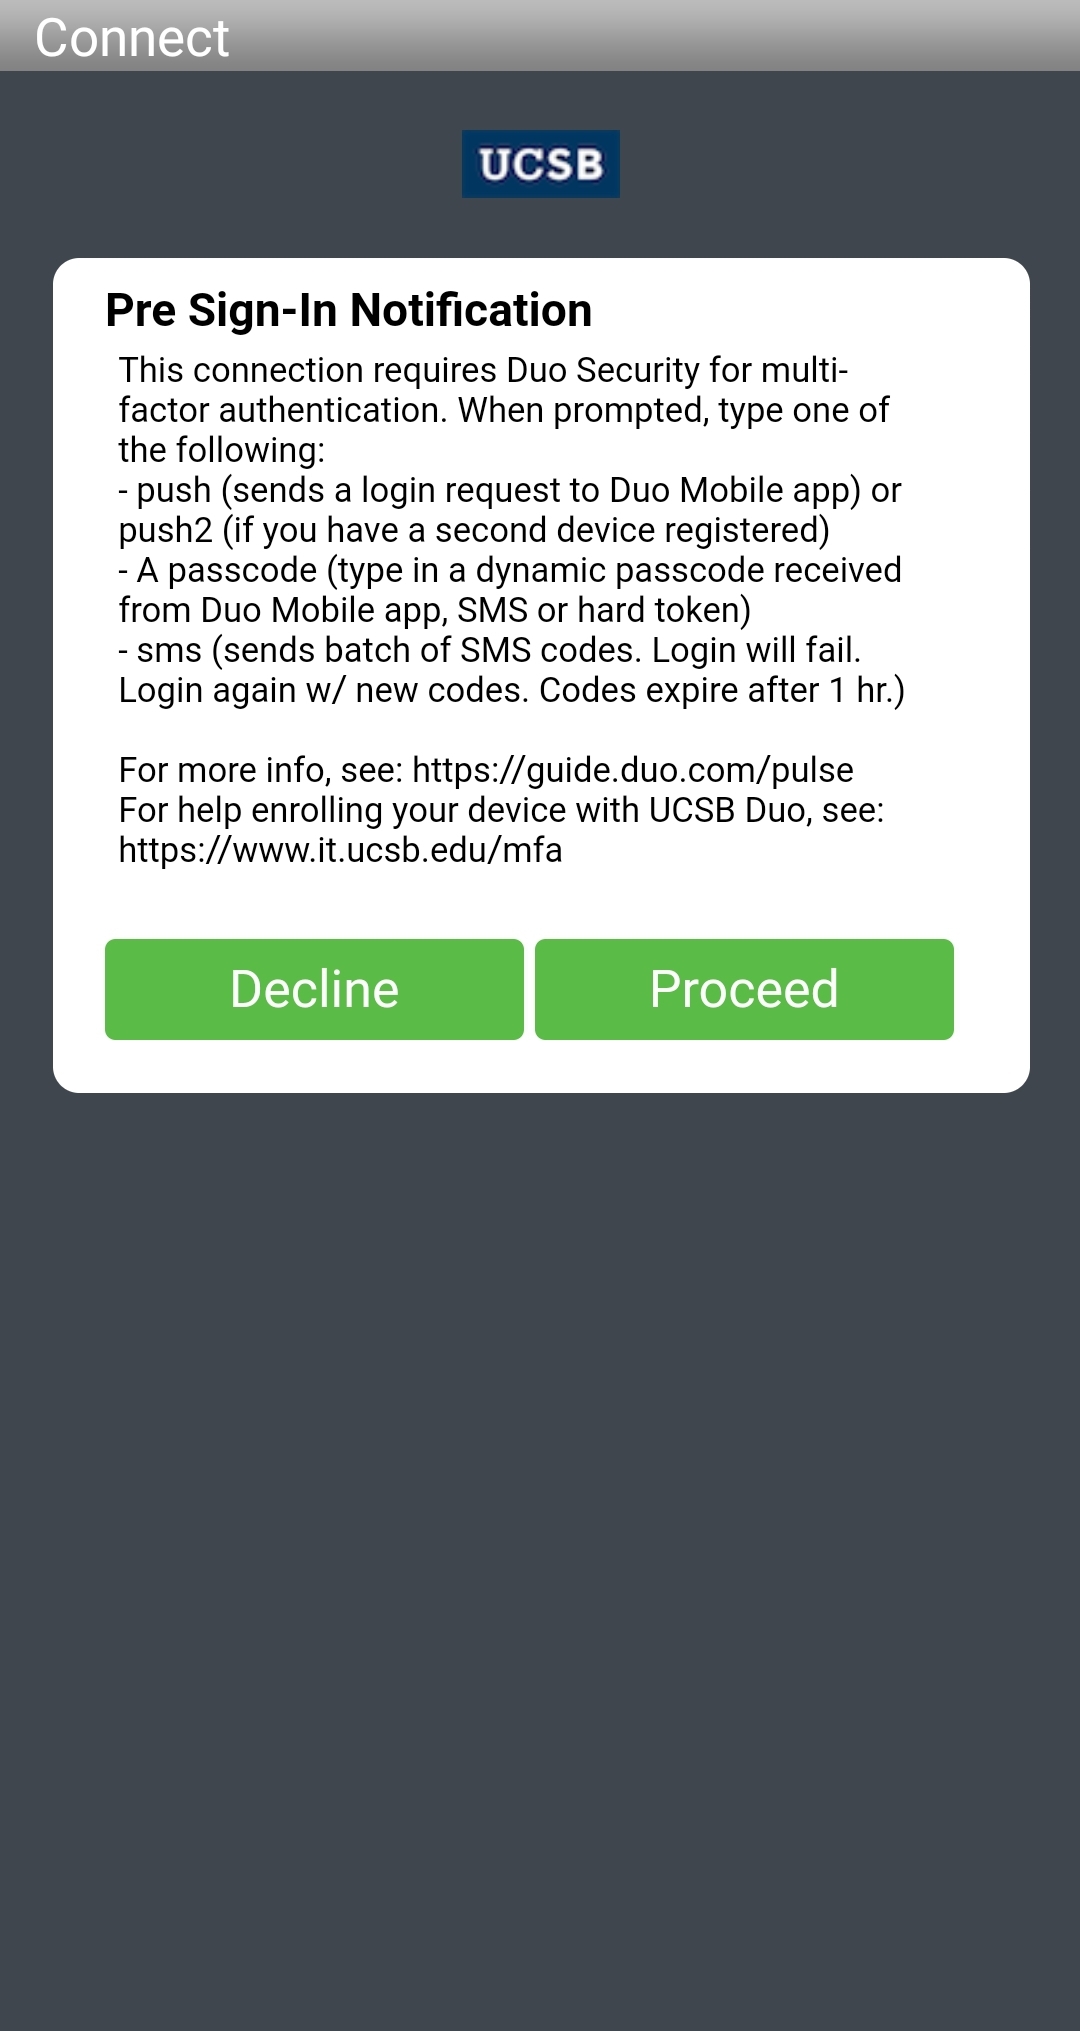
Step 2: The first thing you see will be a prompt explaining how to use Duo multi-factor authentication with the VPN client. Once you have read the Pre Sign-in notification carefully, click "Proceed" to begin the authentication process.
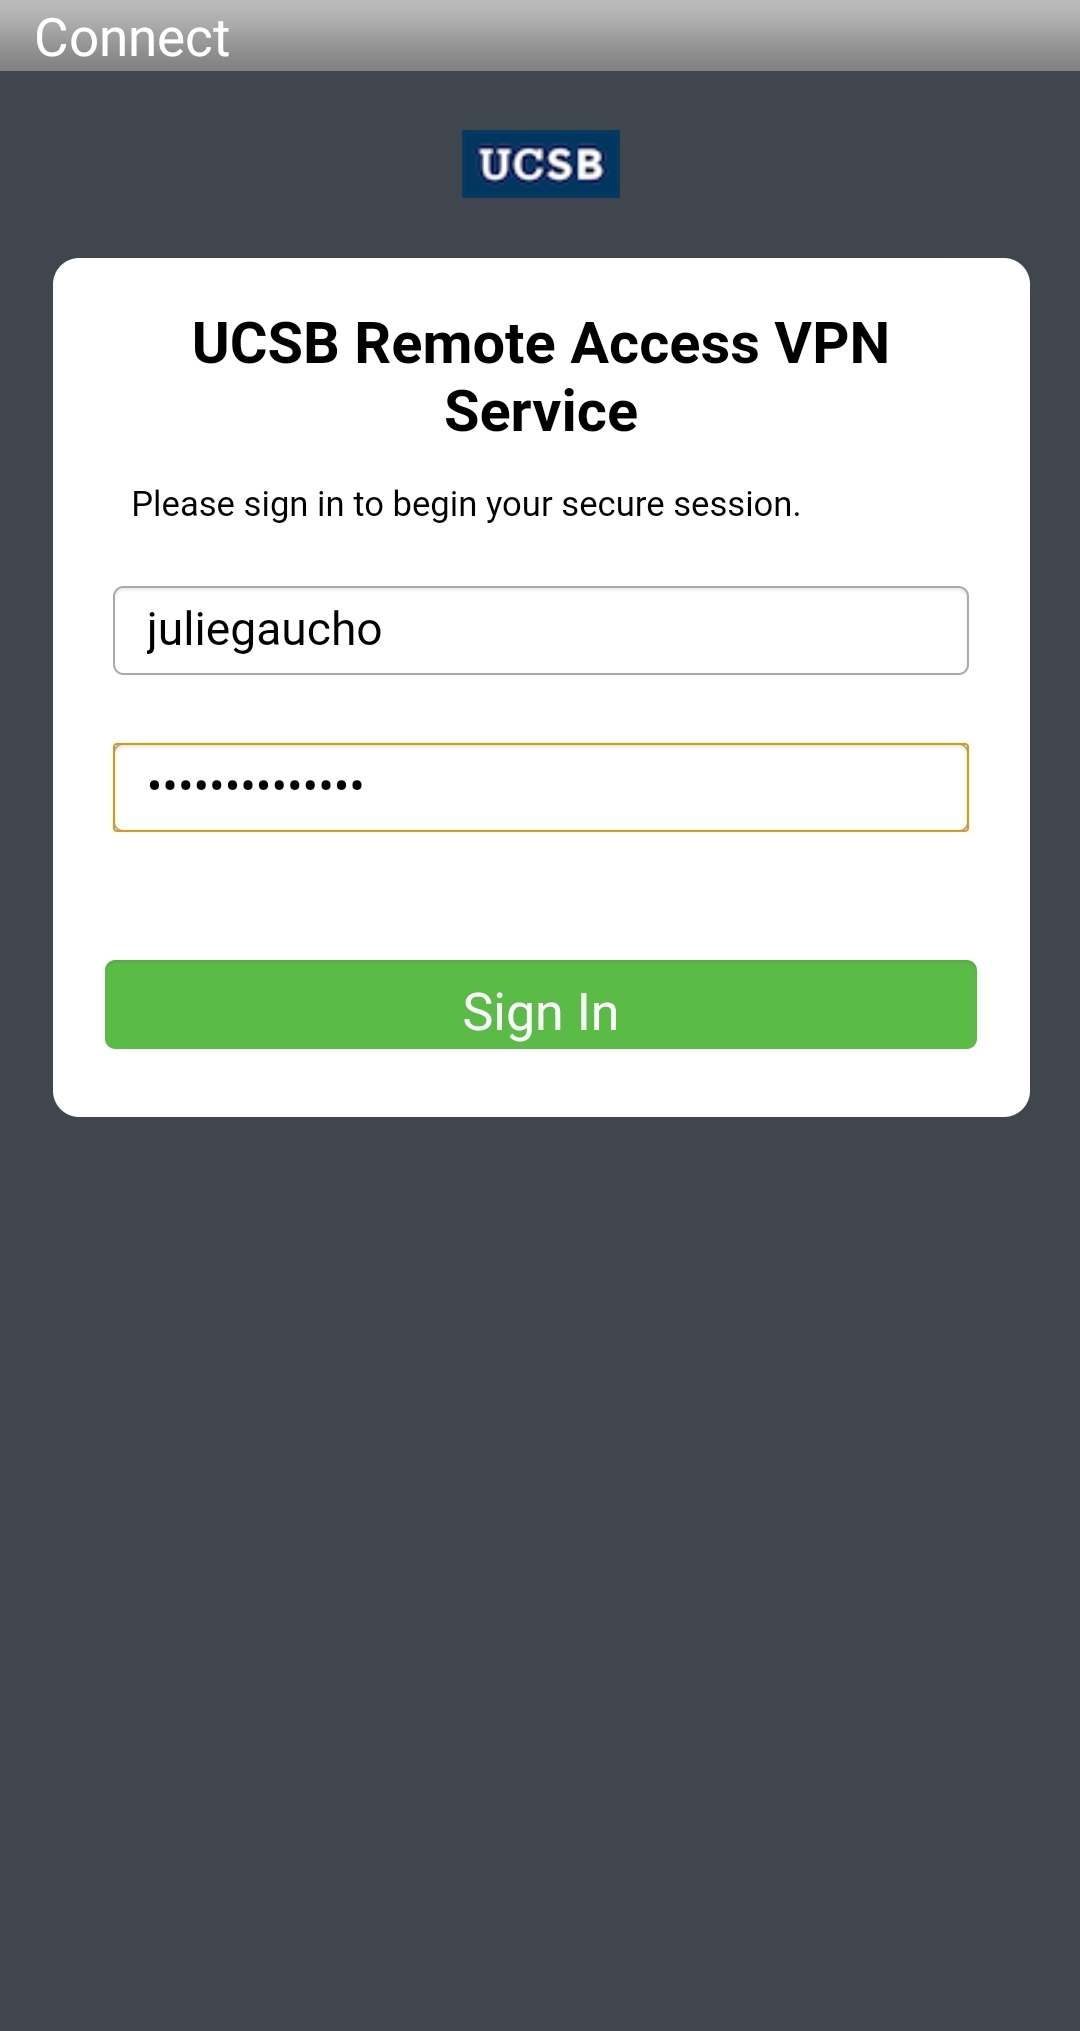
Step 3: Provide your UCSB NetID and password and click "Sign In."
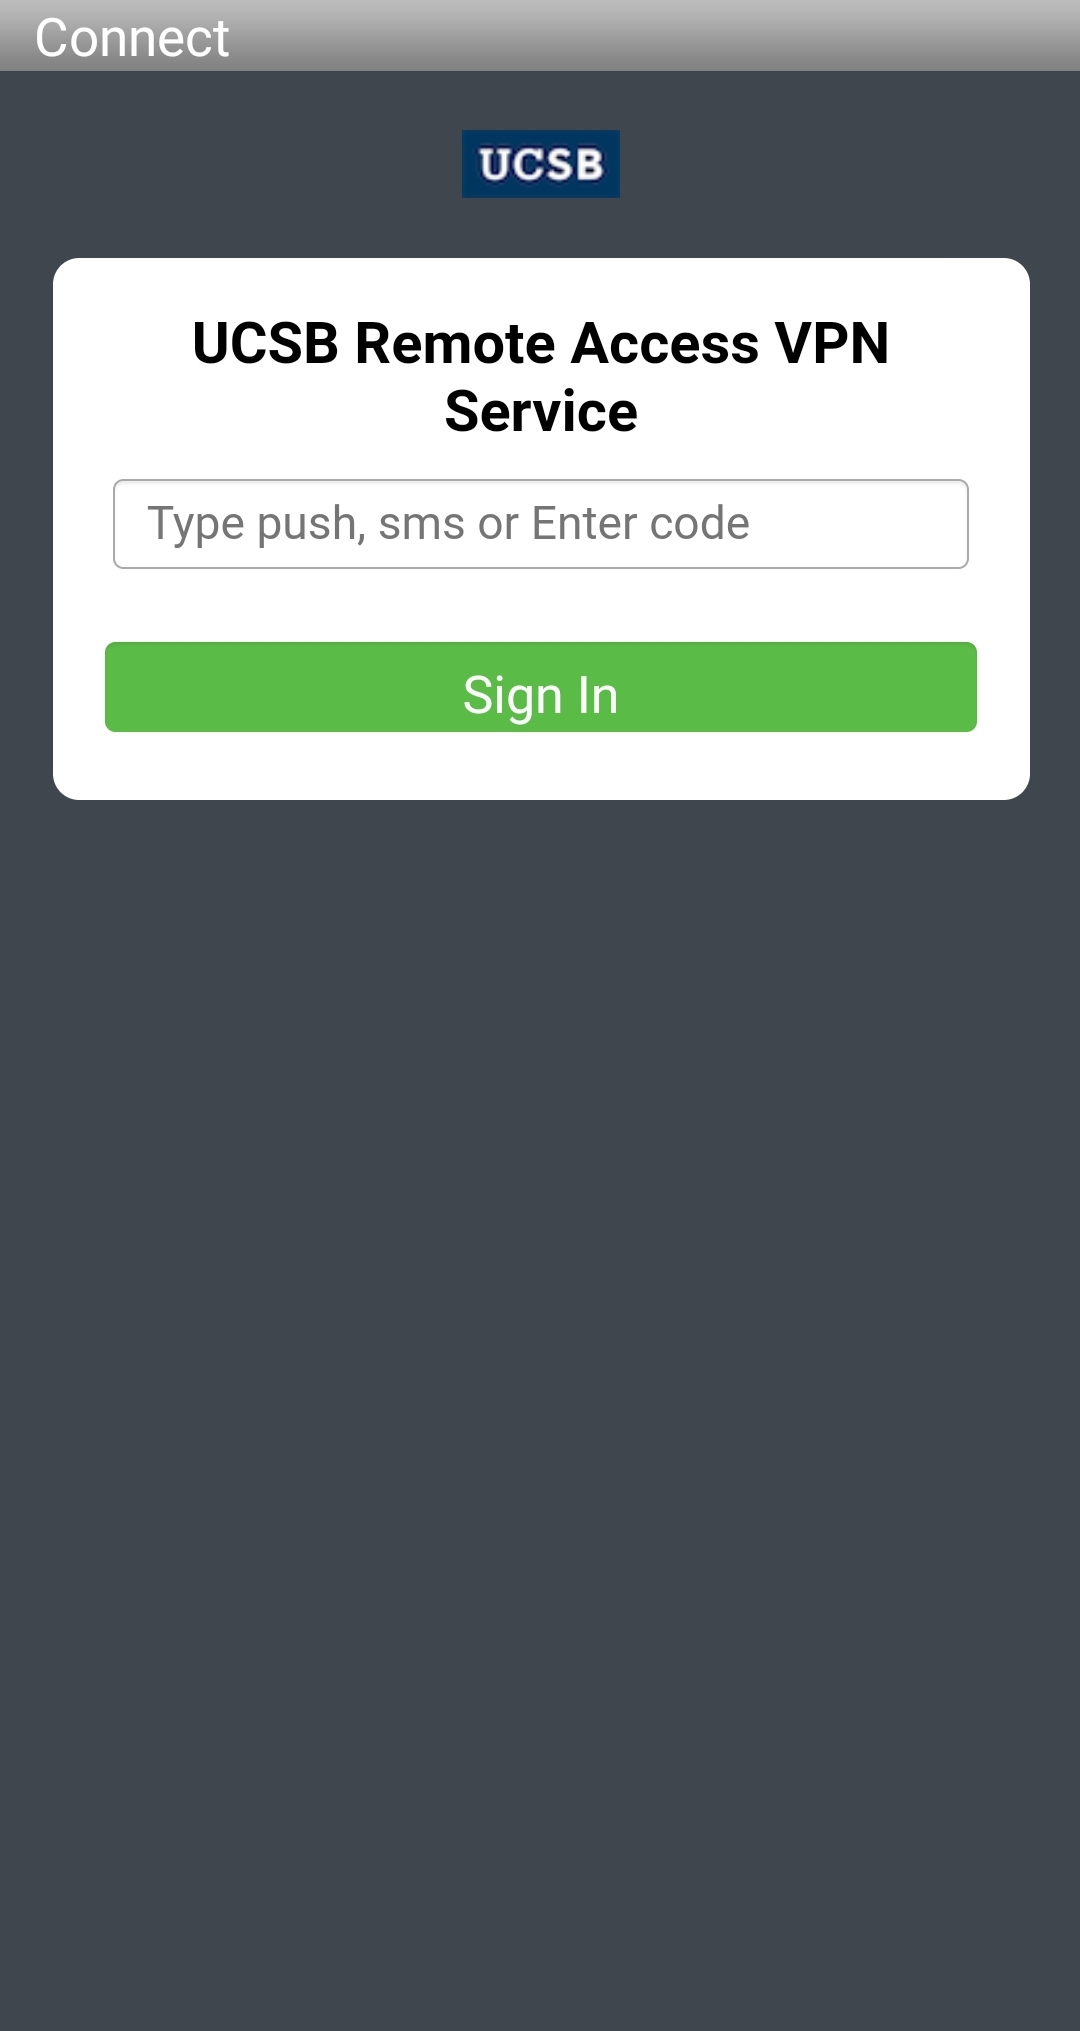
Step 4: Once your UCSB NetID credentials have been authenticated, you will be prompted to enter which factor you want to use for multi-factor authentication (MFA).
Please type 'push' (no quotes) in the designated field to get a push notification via the Duo mobile application, or enter a current SMS, Duo, or hard token numerical passcode. Alternatively, you can type 'sms' (no quotes) to receive a new set of codes via SMS message on your phone (login will fail - you will need to authenticate to the VPN again to use the newly received SMS passcodes, which are good for one hour). You have a short period of time after entering this information to approve the Duo push notification or enter your code. Click "Sign In."
You can find more about the distinctions in Duo device setup here: https://www.it.ucsb.edu/getting-started-mfa-duo/which-devices-should-i-enroll-mfa-duo.
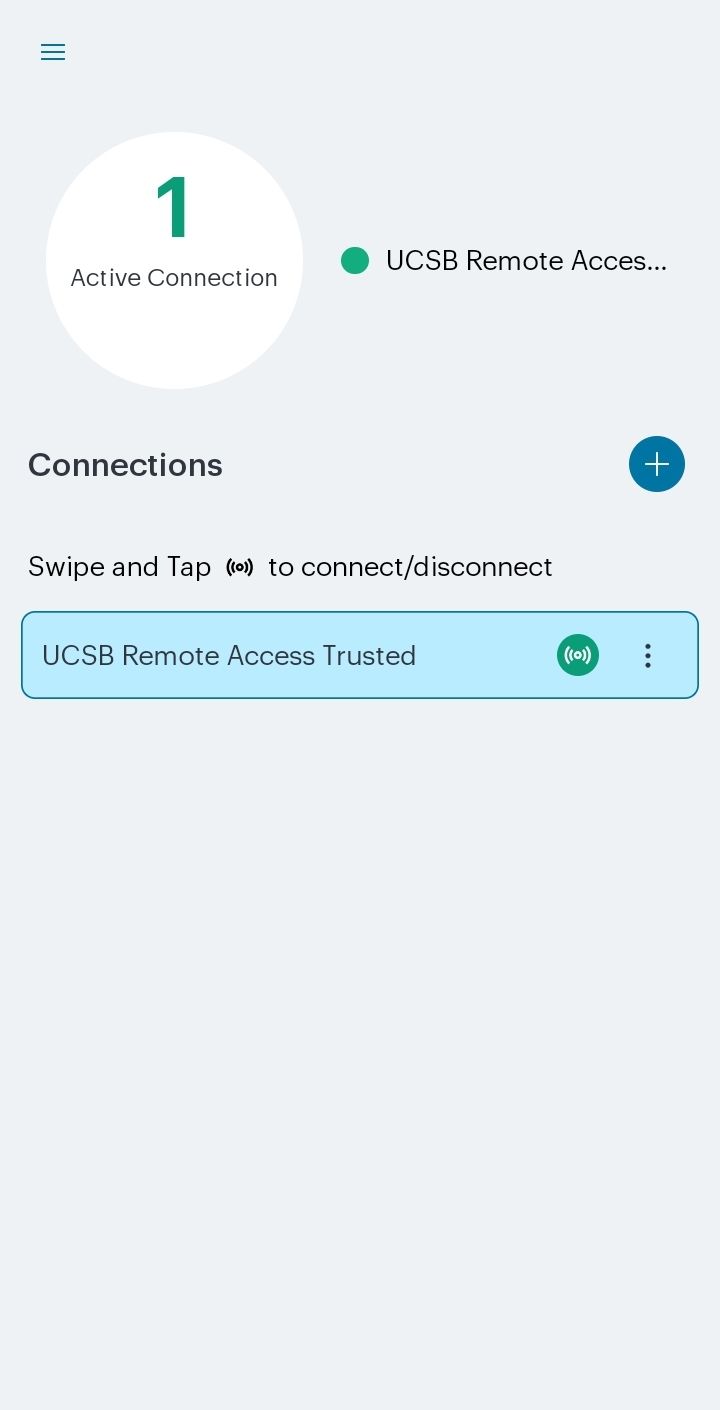
Once you have verified your login via Duo (usually only a few seconds), your client will connect and the interface should change to read "Active Connection". Selecting your Connection Profile will bring up your connection profile and indicate a connection.
Step 5: Verify your VPN connection by using a web browser to visit https://next.noc.ucsb.edu/ip. The web page will display the network address your computer is using. If the VPN is in use, it should say “On-campus address (VPN)”.
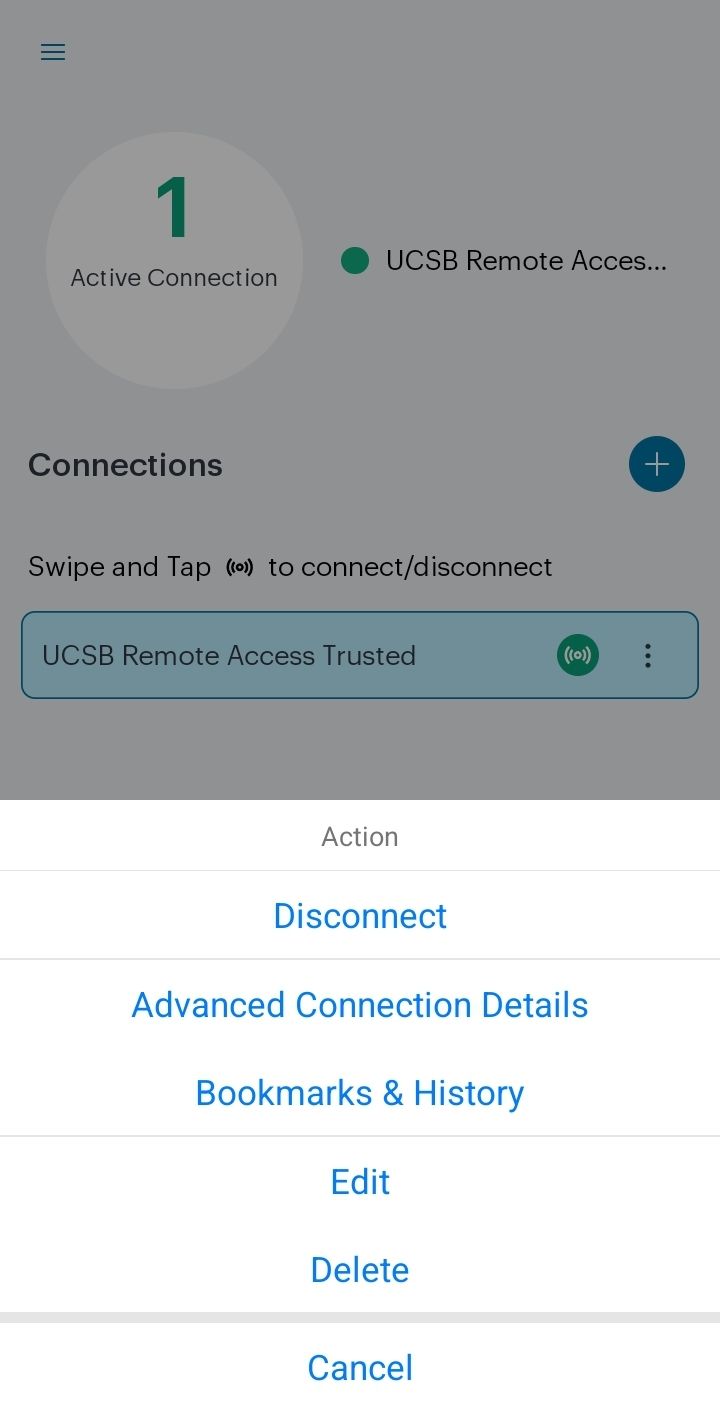
Step 6: To disconnect from the VPN server, return to the Ivanti Secure Access VPN client app, tap the three vertical dots next to your connection profile, and tap “Disconnect”.